
Measure twice, cut once, then force it to fit
Learning the art of woodworking over IAP
It was during last year’s Independent Activities Period, also popularly known as IAP, when I came across the woodworking class taught by Lee Zamir. I was browsing through classes that were offered during IAP, scouting for fun ones. The woodworking course, offered by Project Manus, caught my eye because it seemed like the polar opposite of what I do for my PhD – computational chemistry! Woodworking is a completely hands-on technique, and one that I never had the chance to learn. The only times I really came across woodworking were while watching Ron Swanson on Parks and Recreation make chairs, canoes, and whatnot! I initially had a hard time understanding Ron Swanson’s obsession with woodworking, but the four-class woodworking course during IAP kindled my passion towards the art.
Lee is an amazing teacher. He started off by teaching us the basics of woodworking with the goal of helping us design and fabricate a wooden tissue box cover. Lee came up with this project since it was a good beginner project with practical use, especially in January when many people, amid cold and flu season, are in need of a tissue. The structure of the project was pretty simple. The first step was to learn the basics about wood as a material. Next, we were to come up with a design for the 5-sided veneered wooden box which has a slot opening on the top to take out the tissues. By utilizing a variety of equipment ranging from a table saw fixture to a laser cutter, we had to realize our design and build the wooden tissue box cover from scratch.
After the first class, I went home having learned a lot about wood as a material and how thin sheets of plywood are made. I had a day to think and come up with an idea for a design which we would sew into the wooden tissue box cover through a brilliant technique called veneer marquetry. A veneer is an extremely thin decorative piece of fine wood that is used to cover an inferior quality wood. Veneer marquetry is a decorative technique that assembles different veneers together into a pattern. We were expected to have a vector file on Adobe which could be used to cut veneers into the desired designs. I wanted to come up with an image that I liked but that was also easy enough to make. I decided to go with a dolphin as I love dolphins, and it is fairly simple to sketch a dolphin in Adobe. I finalized my image of a dolphin splashing in the water, and despite there being so much more to be done, I was already impressed with myself for just coming up with the design!
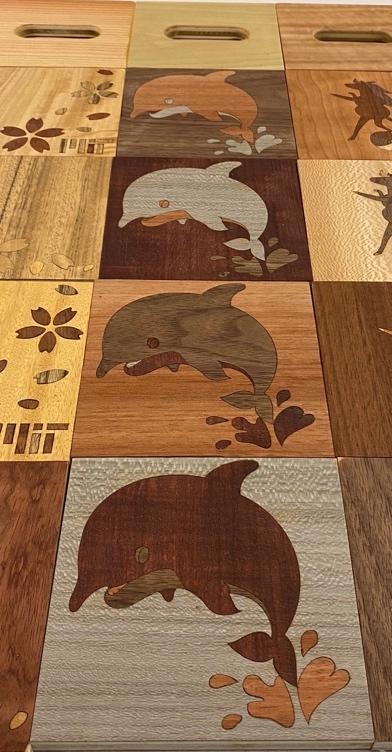
In the next class, I picked four veneers with contrasting colors: brown, maroon, silver – this was a dyed wood – and light brown. I then measured the veneers to ensure a perfect square, and cut out the dolphin from my Adobe design on all four veneers using a laser cutter. In my design, I had drawn in the eye of the dolphin, which was an oval. Although the laser cutter usually struggles with tiny shapes like that, thankfully, it worked flawlessly on my design and the tiny dolphin eye was actually discernable! I used tweezers to remove the dolphin cutouts from each of the four veneers and set them aside. I then stuck blue painters’ tape to each veneer, covering the hole left behind by the cutout.
Next, I gently picked out the different parts of the design, taking one color from each part and placing them in the veneer of a contrasting color. It gave me immense satisfaction to see the pieces stick to the blue tape perfectly – just like various pieces of a jigsaw puzzle finally falling into place! It took me about 20 minutes to carefully assemble the four veneers with the dolphin designs. As a result, all the veneers had the same dolphin design but each veneer was in a different color. In particular, I really liked how the silver design stood out on the background of the dark veneer. I then put another blue tape horizontally on the finished veneers to wrap it around a square block of wood that would form a side of the wooden tissue box cover.
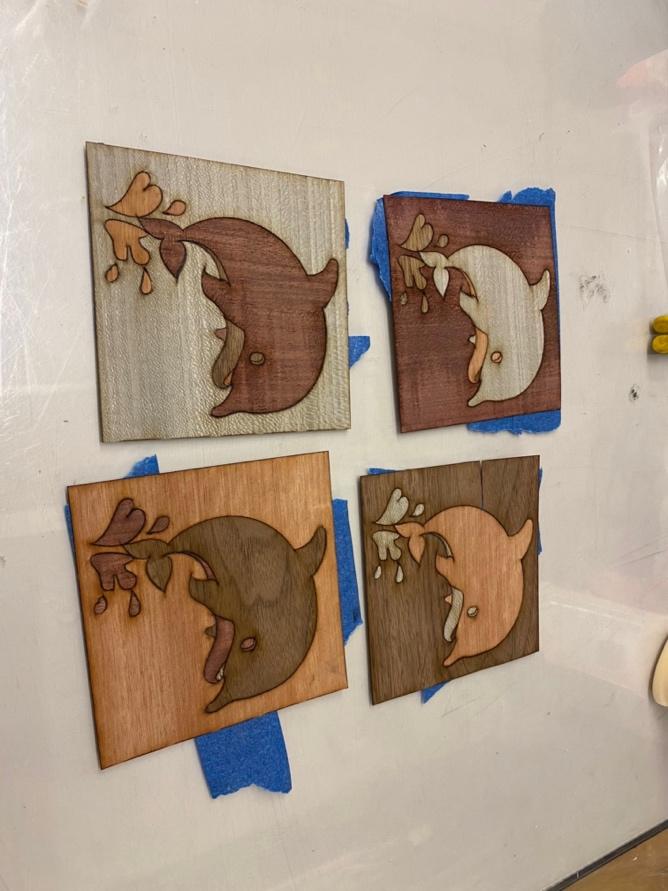
The four veneers with the dolphin design after cutting the design out using the laser cutter. This was how the veneers looked after picking out pieces of the dolphin design from one veneer and sticking them into the cutout of another veneer of a contrasting color.
To build the tissue-box cover, I picked out five square blocks of wood, one for each side of the five-sided tissue box cover (we would insert the tissue box through the bottom). Our next job was to make sure that we completely seal the veneer designs into the square blocks of wood. To do so, I applied glue to each of the four blocks of wood and placed one veneer onto each block and used the blue tape to further fix the veneer to the block. Then, I took the blocks of wood and placed them in a vacuum bag which uses pressure to squeeze the veneer and wood together. After leaving the blocks of wood in the vacuum bag for twenty minutes, I took them out and carefully pulled the blue tape out at an angle so as to not disrupt the texture of the veneer sticking to the block of wood.
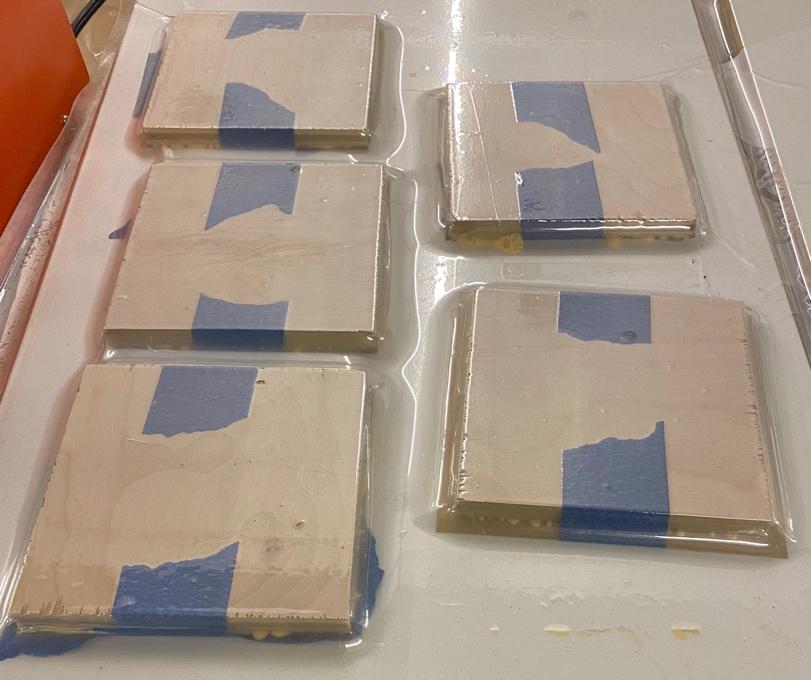
Square blocks of wood in the vacuum bag
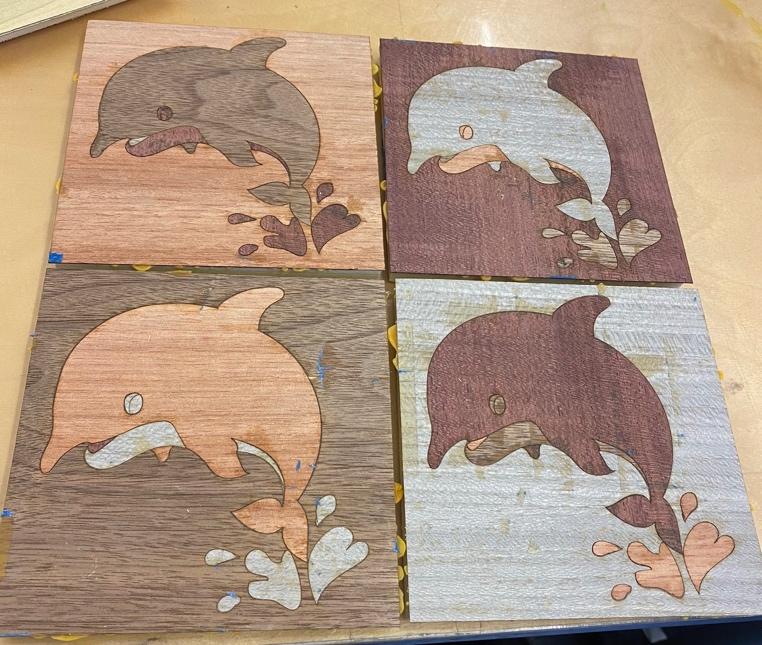
Veneers on blocks of wood taken out of the vacuum bag
The last part was to make the tissue slot in the fifth block of wood that formed the top of the tissue box cover. We made the slot using a computer numerical control (CNC) router, which is a machine used to cut materials like wood. After making the tissue slot, we used a table saw with a sled to cut up the five blocks of wood in order to glue them together to form the tissue box cover. The last step was sanding and applying a wood finish to the box, after which the box was finally ready. Once complete, I could not stop patting myself on the back for my wonderful handicraft!
Blocks of wood after adding a finishing coat
My journey of learning woodworking over four classes during IAP was unforgettable and transformative. It felt amazing to make something tangible from scratch and give it a shape and form. I could not stop admiring the wooden tissue box cover that I created, as well as the boxes made by everyone else in our class! I was happy to have learned a new set of skills including not just the basics of woodworking but also how to use the different machinery we needed in the process. While there were a few minor flaws in the box I made, it was my first time trying out woodworking, and the fact that I saw the project through to completion was more than enough for me. I’m glad that I took the time out of my life to participate in this class and leave with a tangible object, despite my hectic grad school life! As someone who mostly spends their time in an office doing computational chemistry, this was a welcome change of scenery where I was actually creating something rather than simulating it on a computer. Besides woodworking, I have taken a couple of other classes during IAP such as making my own watercolors from scratch and glass etching. These activities add so much color to my life in grad school, making my PhD experience all the more fulfilling.

Completed wooden tissue box cover
Share this post:
